Custom Tile Objects (Advanced)
Introduction
This guide will show you how you can use your own custom tiles on the roof tiles generator.
The tool was not directly designed for such end but since a lot of users asked for it I will explain it step by step.
Preparing the generic tile object
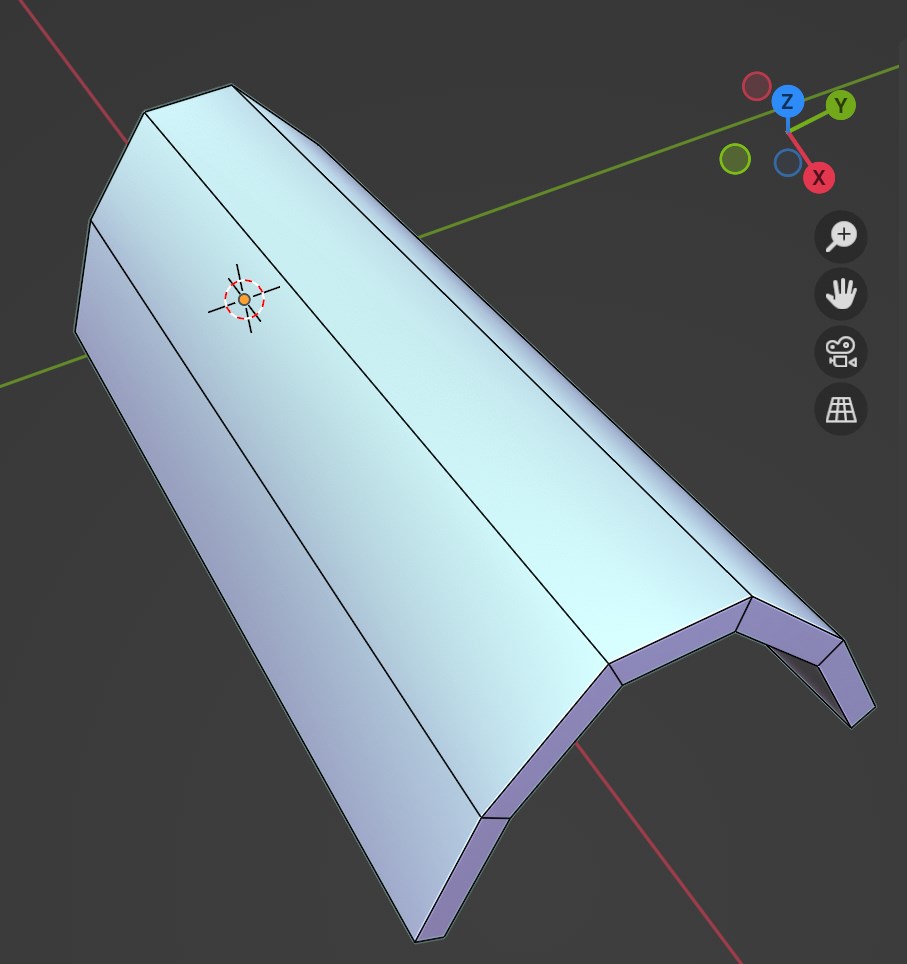
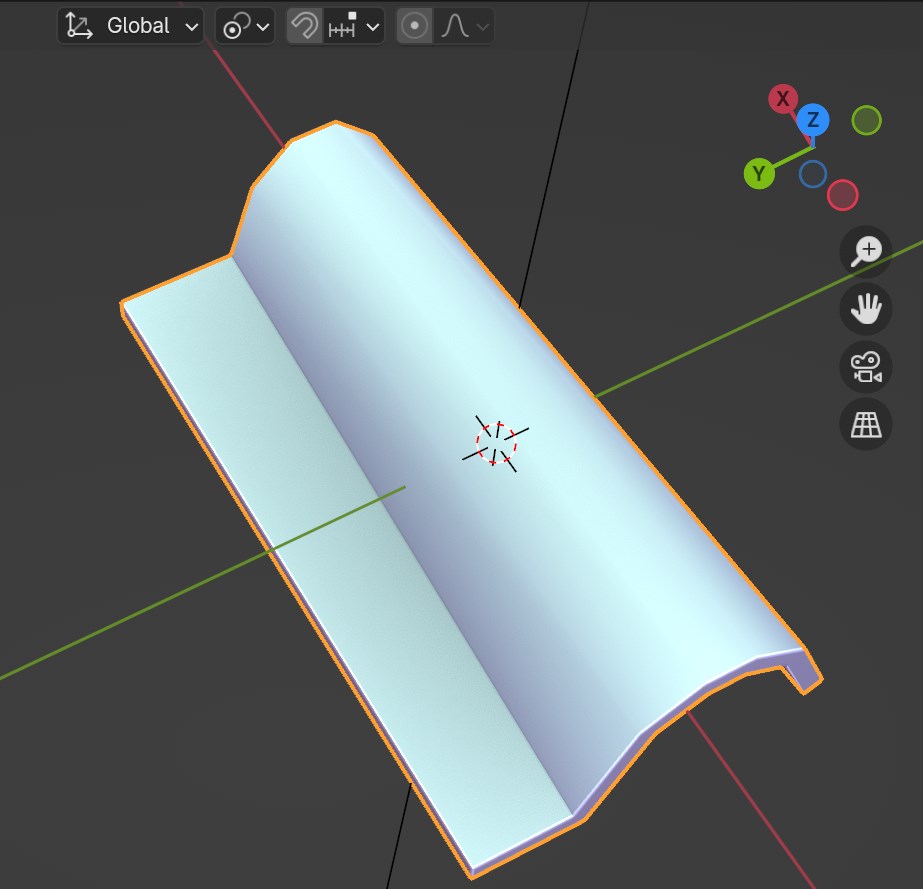
Have in mind that the object will be used in calculations and eventually boolean operations. Using a simple low poly object is recommended.
Orientation, Dimensions and Transformations
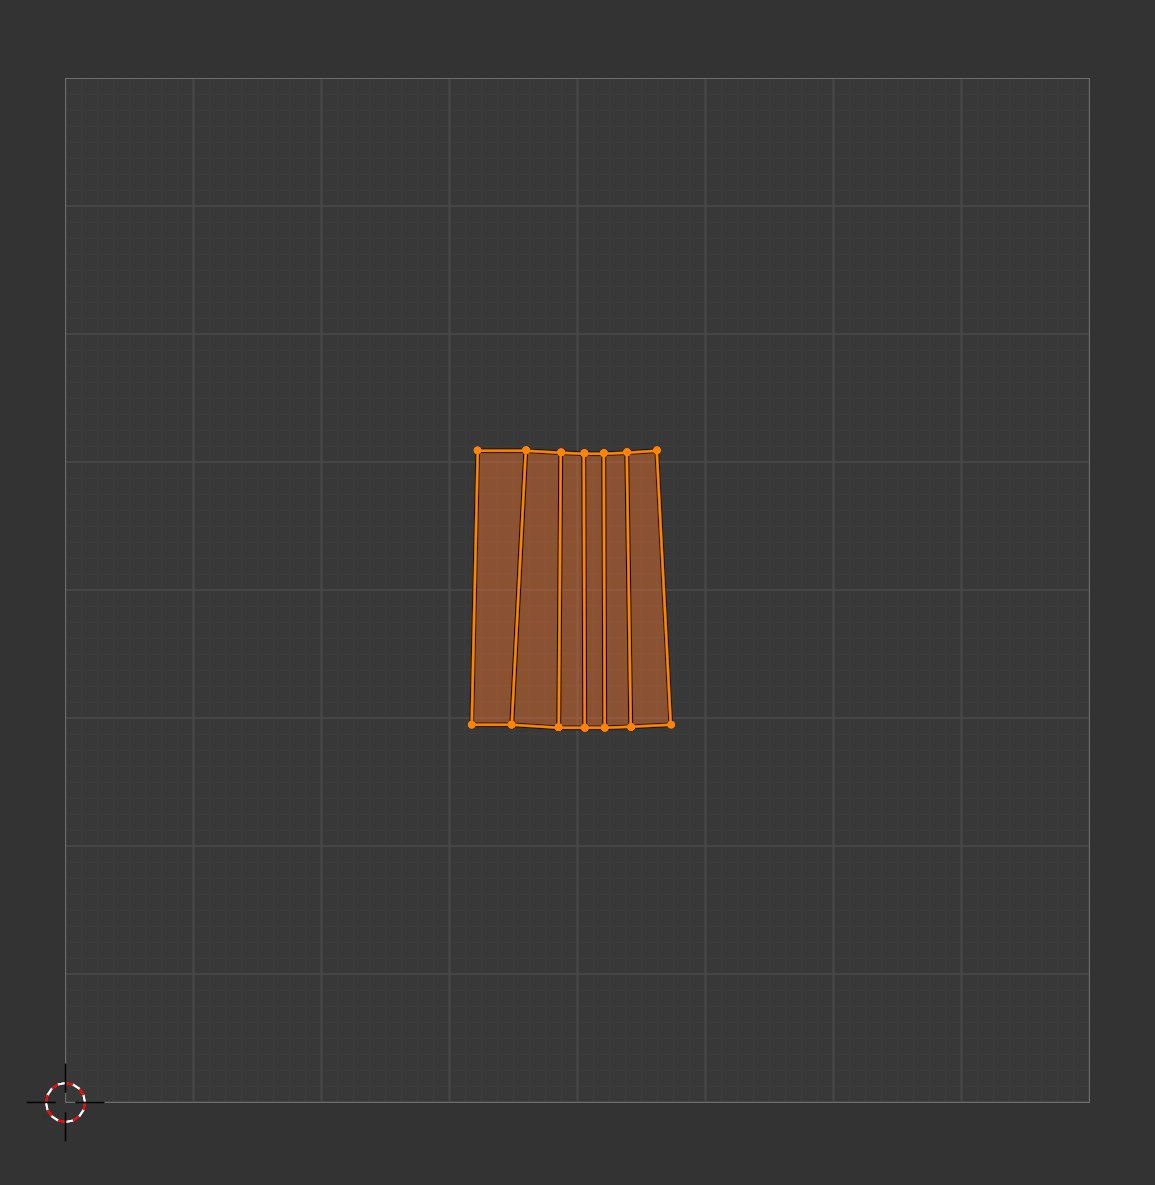
The tile should be to scale and with scale and rotation transformations applied. The long side of the tile should be aligned to the X axis. The part that would point "down" the slope in the roof should point to the Negative X direction
Adjust for tiling
The most important thing is to make the tile fit within an array of tiles and try to avoid overlapping.
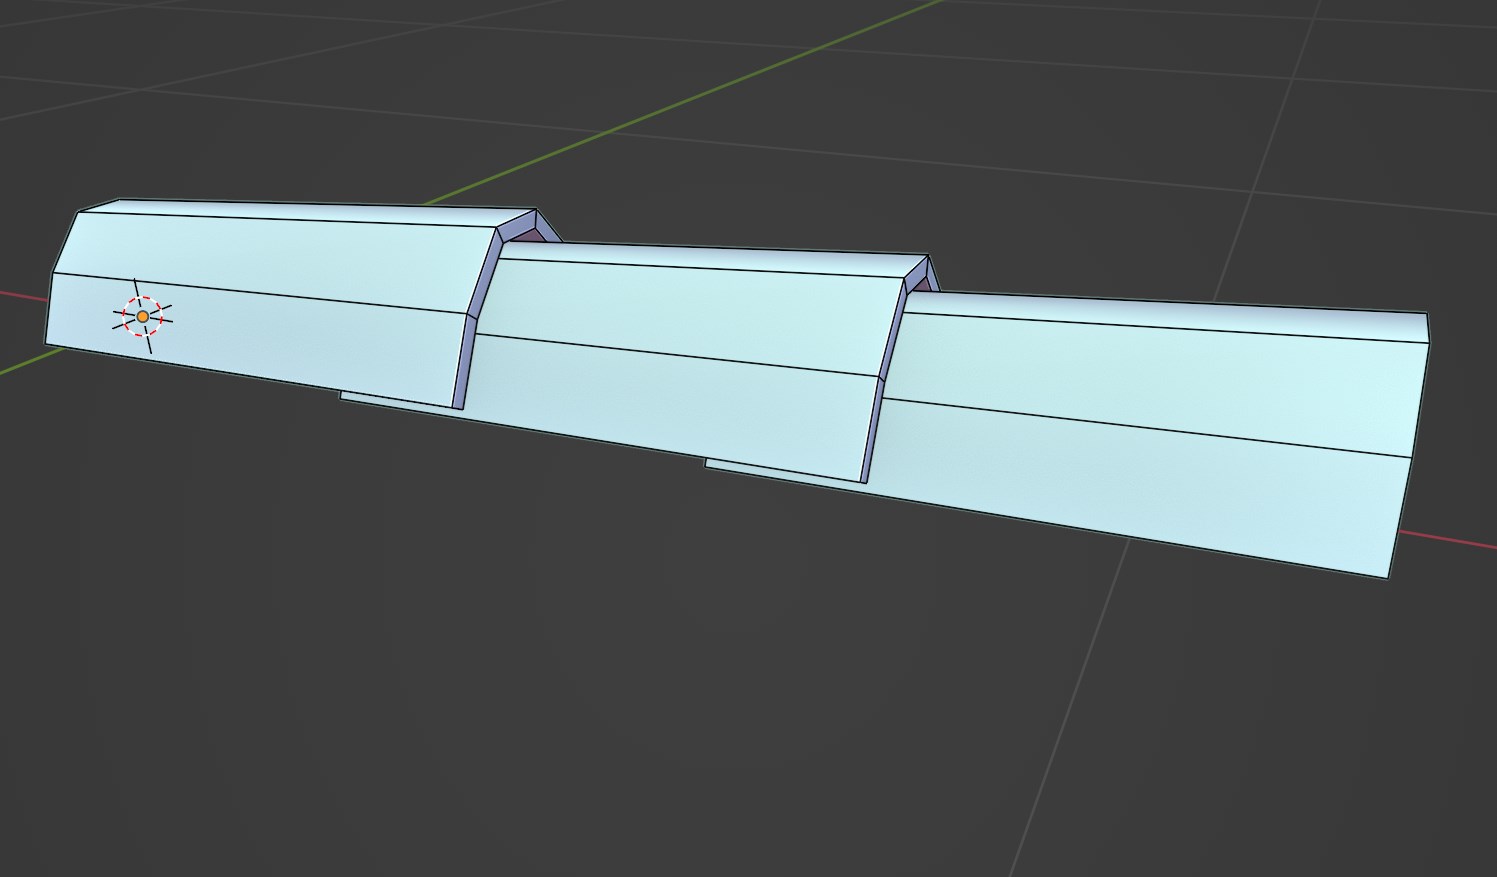
To facilitate this we are going to use 2 array modifiers once we modeled the tile.
The first array will be set to Count 3 and Constant Offset (uncheck relative offset set by default). And you will control the vertical separation by increasing the number in Distance X
Then we add a second array modifier also set to Count 3 and Constant Offset but now we increase the Y Distance.
With those 2 arrays active you can enter edit mode and rotate and adjust the object so that it more or less sits on the other copies without overlapping
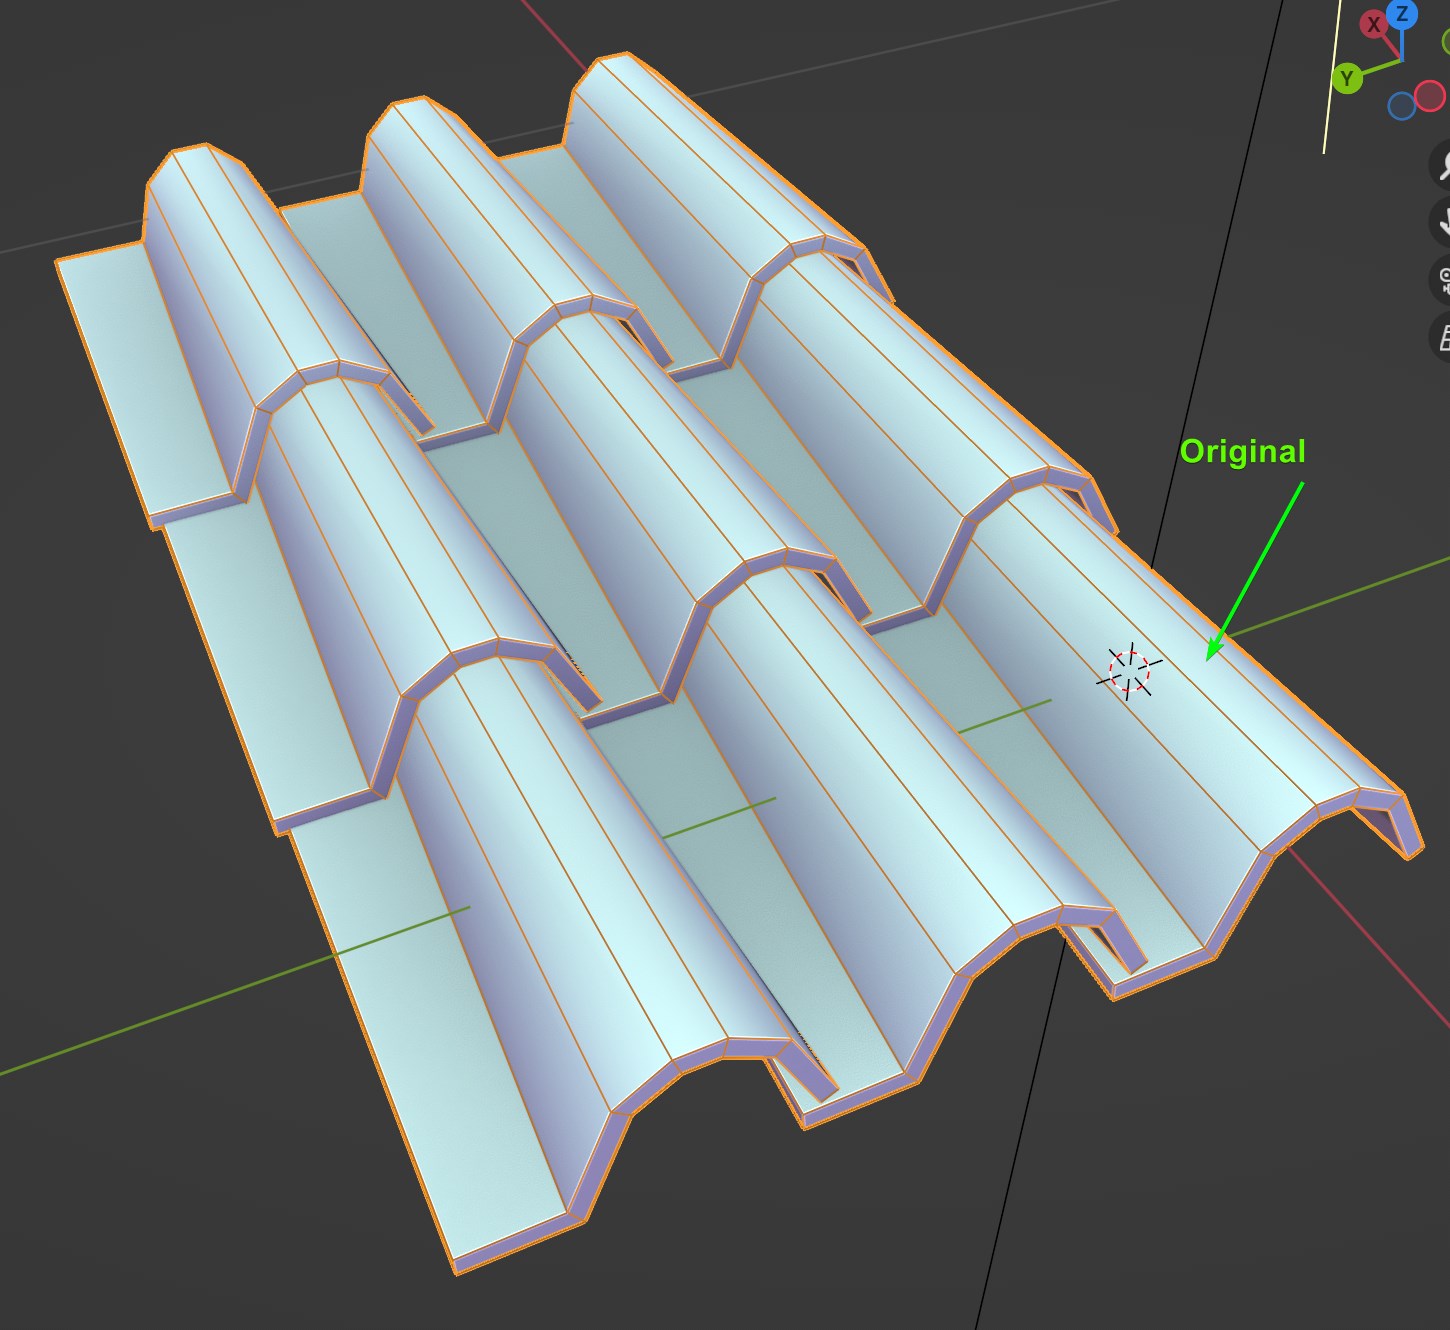
Once you did the adjustments take note of the Distance values on both array modifiers (they will be your separation values on the generator parameters). You can then delete both array modifiers and add your tile to a new collection.
Add your tile to the generator
You can use any of the Auto Roof Generators on a mesh.
Then go to the modifier's tab and replace the TILES collection for the collection where you moved your custom tile.
Adjust the H Spacing parameter to your Y axis array distance value
Adjust the V Spacing parameter to your X axis array distance value
The custom tiles should now be placed in your roof.
Preparing the RIDGE tile object
Orientation, Dimensions and Transformations
The tile should be to scale and with scale and rotation transformations applied. The long side of the tile should be aligned to the X axis. The part that would point "down" the slope in the roof should point to the POSITIVE X direction (note that is the opposite of the regular tile).
Origin Point
In this case the origin point is important, it should be close to the edge of the tile

Adjust for tiling
In this case we will only use 1 array modifier
The array will be set to Count 3 and Constant Offset (uncheck relative offset set by default). And you will control the separation by increasing the number in Distance X
With the array active you can enter edit mode and rotate and adjust the object so that it more or less sits on the other copies without overlapping
Once you did the adjustments take note of the Distance value on both array modifiers. You can then delete the array modifier and add your tile to a new collection.
Add your RIDGE tile to the generator
Go to the modifier's tab and replace the RIDGE TILES collection for the collection where you moved your custom tile.
Adjust the Spacing parameter to your array distance value
The custom RIDGE TILES should now be placed in your roof.
Variation
You can duplicate and alter multiple copies of the tiles and put them in the same collection to have a mix of different shapes, broken tiles, etc..
Here there is an example with just 3 different tiles, but you can add as many as you want.
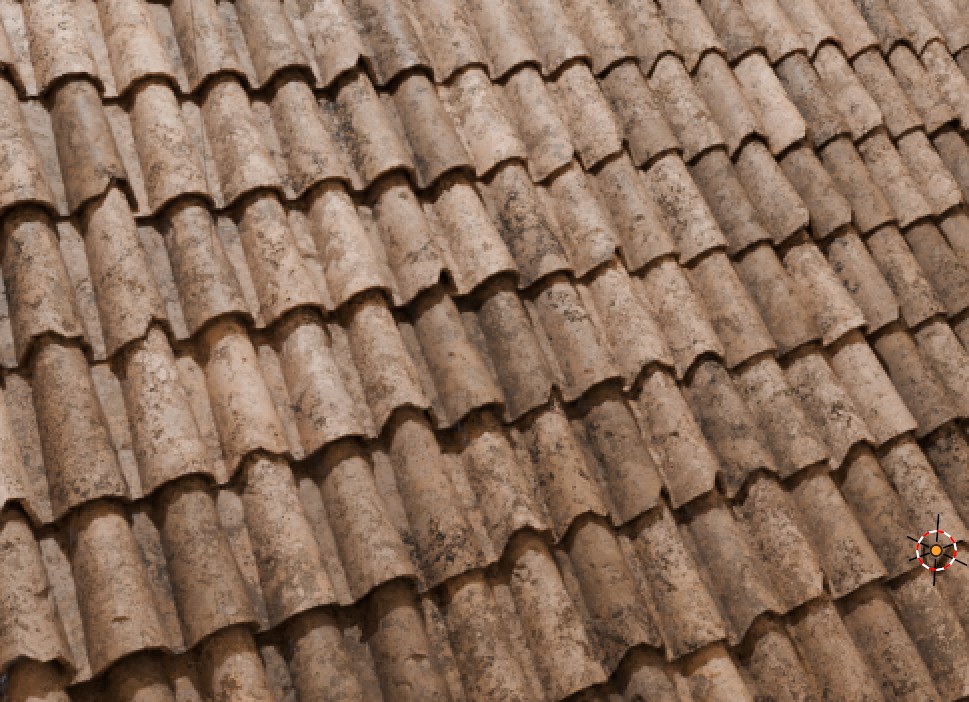
Texturing
You can use materials directly in the tiles as long as you have the TILES MATERIAL>Replace Material parameter unchecked
Each tile can have a different one if needed.
You can also use the Custom Texturing Guide with your own tiles. To do so the only thing you need to do is to UV Unwrap it in a specific way.
Make sure you only occupy 1/3 of the UV map from the center. This will allow the offset in the custom texturing to use different parts of the texture to add variation between tiles